Preparing a USB Image
What is bootable media?
So you want to try Ubuntu MATE from a USB drive or SD card? Great! If you’re new to the process, you might be wondering why you just can’t copy the Ubuntu MATE image on to your media and be good to go. To run an operating system, you need to write the image to the drive in a way that allows your computer to boot from it.
To install and try Ubuntu MATE from a USB drive or SD card, you’ll need media with at least 4 GB of memory and have downloaded a compatible copy of Ubuntu MATE for your system.
Instructions
This applies to both USB and microSD cards.
If the downloaded file has a .xz extension, use 7-Zip
to extract the .img file first.
Windows
-
Download the latest version of balenaEtcher. Double-click on the downloaded file to install.
-
Run the balenaEtcher application.
-
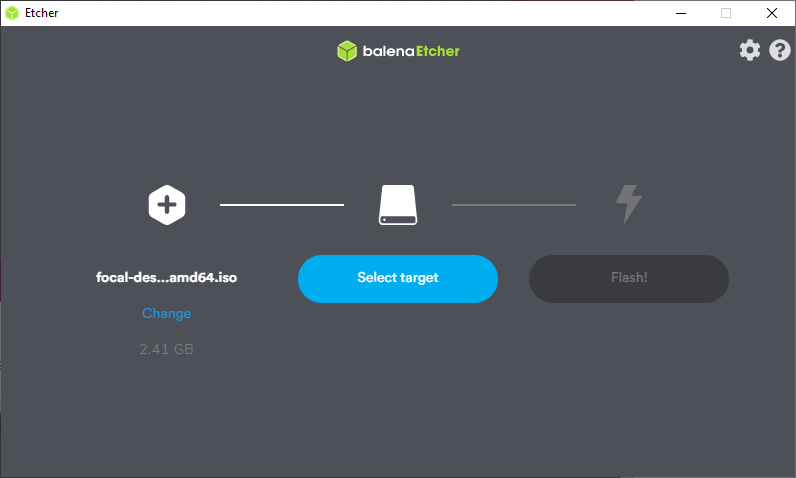
Click on the Select Image button and choose the Ubuntu MATE
.isofile you want to use.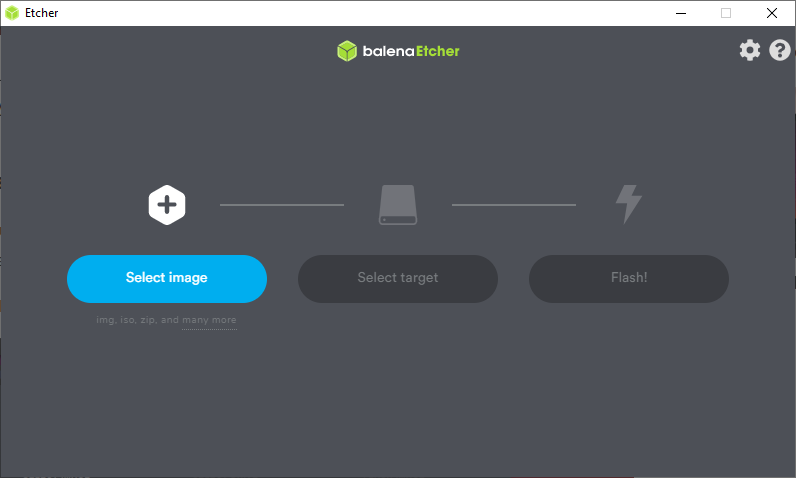
-
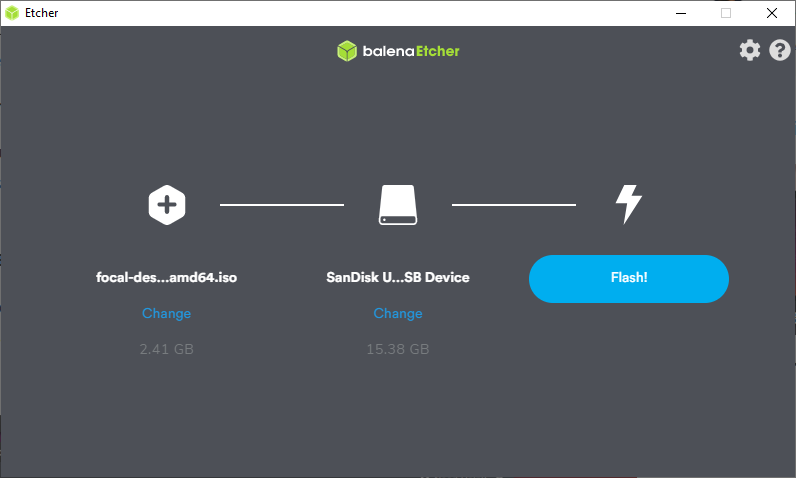
Click the Select Target button and choose the appropriate USB device to write the .iso to.
-
Finally, click the Flash! button to begin the process.
-
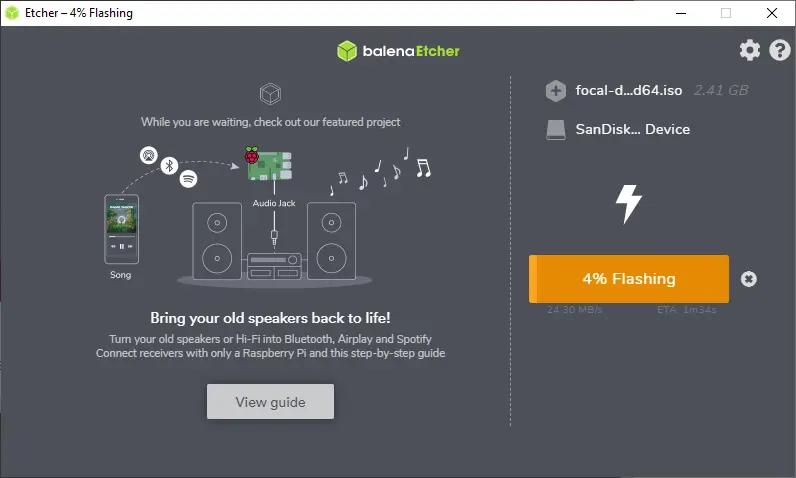
It will show a progress bar as it operates.
-
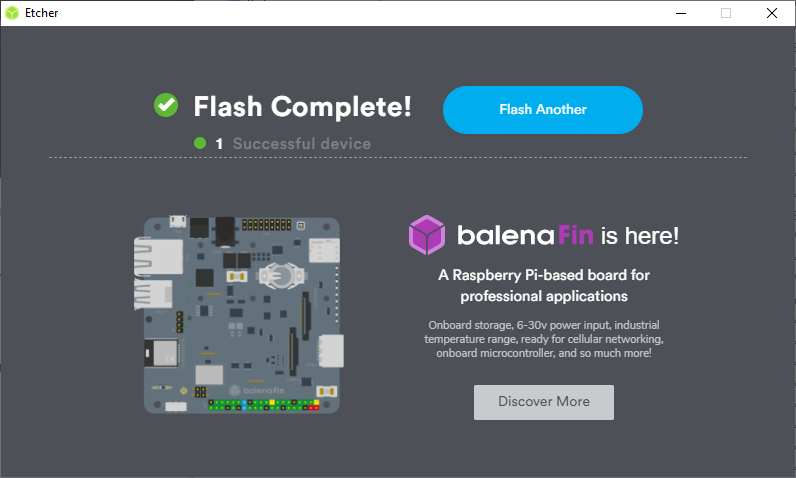
Etcher will notify you when the process is complete.
-
Please remove the USB drive and plug it into the system where you want to install Ubuntu MATE.
macOS
If you plan on writing and using your bootable USB on Mac hardware, you’ll need to erase and reformat your memory stick using Apple’s Disk Utility, which you can launch from Applications > Utilities or the search function.
- After launching Disk Utility, insert your USB stick, which will then appear.
- If it does not, check View > Show All Devices from the menu bar.
- Select the USB stick, and select
Erasefrom the tool bar or right-click menu. - Select the
MS-DOS (FAT)format andGUID Partition Mapfrom the respective drop-down menus. -
Check (and double check - you can lose data if you select the wrong device or partition) that you’ve chosen the target USB stick and click
Erase.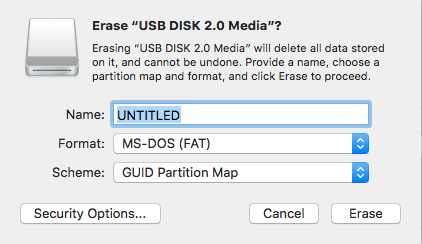
- Download and install Etcher, an open source project that flashes ISOs to SD cards and USB drives.
-
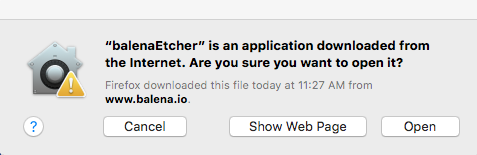
If necessary, open the ‘Security and Privacy’ section in System Preferences and allow apps downloaded from ‘App Store and identified developers.’ If this still does not allow you to run Etcher, click ‘Open Anyway.’
- Select the previously downloaded Ubuntu MATE ISO (which, by default, is in your Downloads folder) using Select Image.
- Confirm Select Target is pointing to the intended USB drive, and if not, choose the appropriate device.
- Click Flash! to write the ISO to your USB drive. Etcher will prompt you for your password. Etcher will display its progress, and inform you when the process has successfully completed with the image below.
-
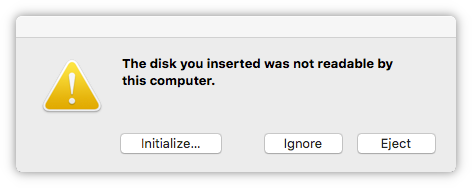
If macOS informs you ‘The disk you inserted is not readable by this computer,’ select Eject, not Initialise
- To use your bootable media on a Mac device, insert the USB stick and restart or turn on the device while holding the option/alt key to launch Startup Manager. Click on the gold disk labeled ‘EFI Boot,’ which will bring you to the Ubuntu boot menu.
If you cannot boot from the USB drive on your Mac, try burning a DVD.
GNU/Linux
There are several apps and utilities for writing an ISO to a USB drive or a
microSDHC in GNU/Linux, but we prefer ddrescue (from the gddrescue package).
The image can be directly written to a microSDHC or to a USB drive using an
utility like dd, but we prefer ddrescue (from the
gddrescue package).
On a Debian-based system, like Ubuntu MATE, run:
sudo apt update
sudo apt install gddrescue
To find the block device name of your USB or microSDHC device, to see all your connected devices:
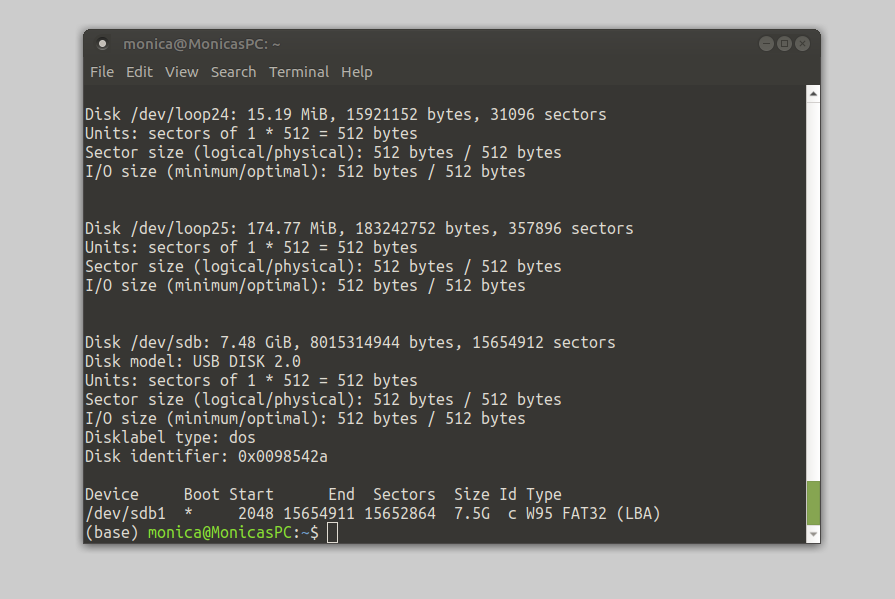
sudo fdisk -l
For example, in the image below, the USB drive is /dev/sdb (third entry) and
the first and only partition is /dev/sdb1 (last entry). Checking the name of
your device is a key step, as writing to the wrong device might corrupt or
destroy your data.
Once you’ve confirmed you have the correct block device, enter the following
command replacing path/to/iso and sdx with the path to the iso file and
block device name of your USB drive or microSDHC.
sudo ddrescue --force -D path/to/iso /dev/sdx
Ubuntu/Ubuntu MATE
GNOME Disks comes pre-installed on Ubuntu 16.04 and later. This is an easy way to create a bootable USB drive.
If Disks is not present on your system, you can install it from the terminal:
sudo apt-get install gnome-disk-utility
-
Download your chosen Ubuntu MATE image, keep note of the location, and insert your USB drive. Be sure it’s visible in File Manager/Caja. Remember this process will format your USB drive and erase all existing data, so be sure you’ve backed it up.
-
Right-click on the ISO file, and select “Open with Disk Image Writer.”

-
Select your USB drive in the “Destination” drop-down menu.
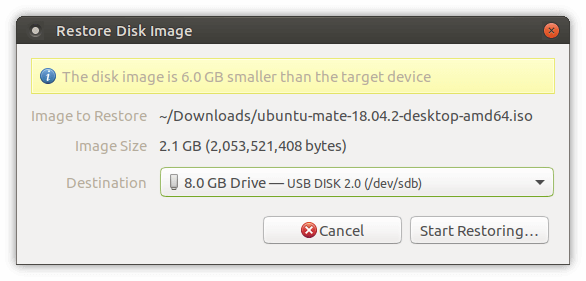
-
Click “Start Restoring.” When it asks if you’re sure you want to write the disk image to the device, click “Restore.”

-
You may be asked for your password for authentication. Enter it and click “Authenticate.”
-
GNOME Disks will begin writing the image, showing its progress and an estimated time.
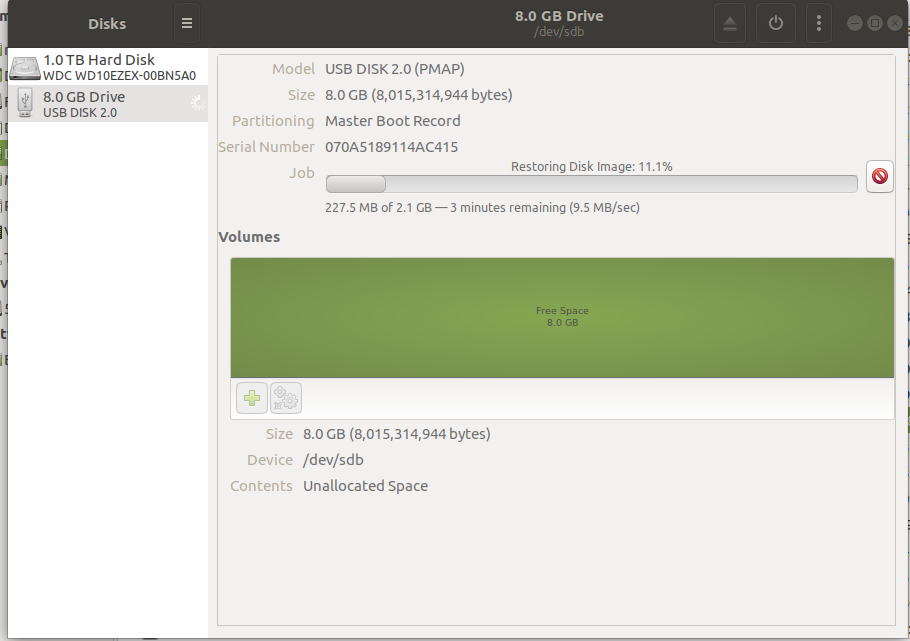
When complete, eject (or power off) the disk before removing.