Raspberry Pi Installation Guide

1. Overview
In this tutorial, we walk you through the process of installing Ubuntu MATE Desktop on a Raspberry Pi.
What you’ll learn:
- How to create a bootable Ubuntu MATE Desktop microSD card
- Tips on booting from USB drives (optional)
What you’ll need:
- A microSD card (8GB minimum, 16GB recommended)
- A computer with a microSD card drive
- A Raspberry Pi 2 or newer
- A micro USB-C power cable
- A monitor with an HDMI interface
- A micro HDMI cable
- A USB keyboard
2. Download the Ubuntu MATE image
Download either the 32-bit or 64-bit image depending on your needs. Make sure that the version is compatible with your Raspberry Pi model.
3. Prepare the SD Card
First, insert the microSD card into your computer.
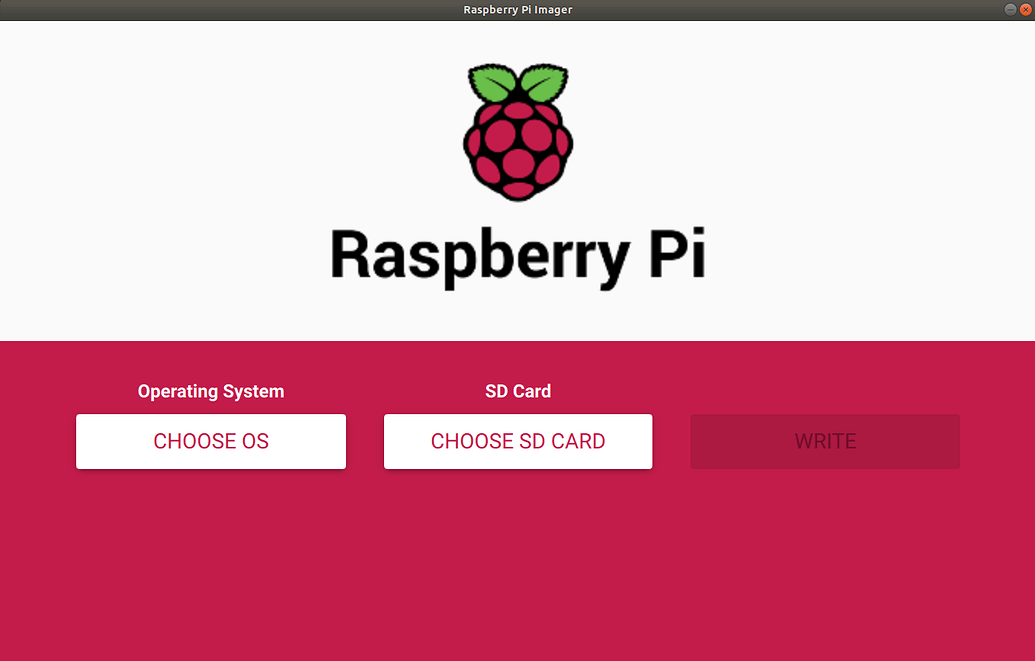
You need to install the right Raspberry Pi Imager for your operating system. You can do this on Ubuntu by running:
sudo snap install rpi-imager
Or on other operating systems follow these links:
Once this is done, start the Imager and open the “CHOOSE OS” menu.
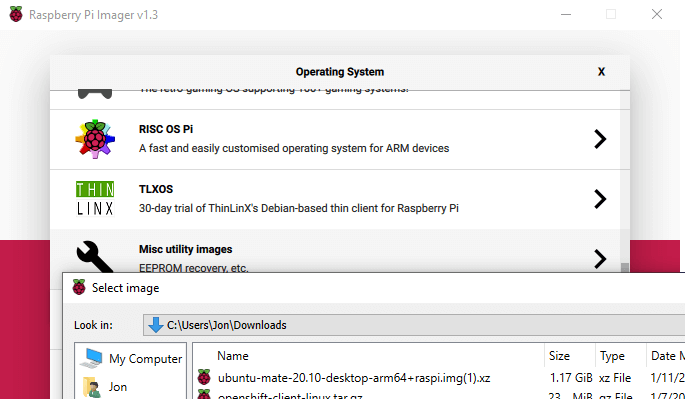
Scroll down the menu and click “Use custom”.
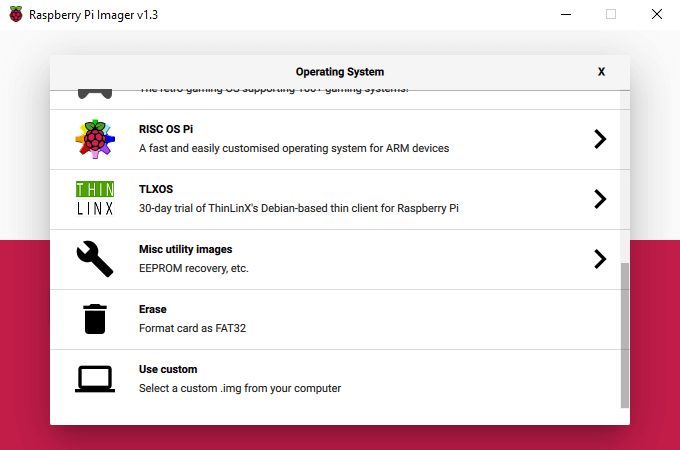
A dialog box will open asking you to choose the image you wish to burn. Click through and select your file.
Once you have made your custom image selection open the “SD Card” menu.
Note: Please make sure you choose the right location to write to. This could erase your data.
Select the microSD card you have inserted, and click “WRITE”. Then just sit back and wait for the magic to happen… (This magic might take a few minutes)
4. Boot your Desktop
Ensure your HDMI screen and a USB keyboard are plugged in before powering the Pi. You will be able to see the boot process on screen and, eventually, the first run wizard.
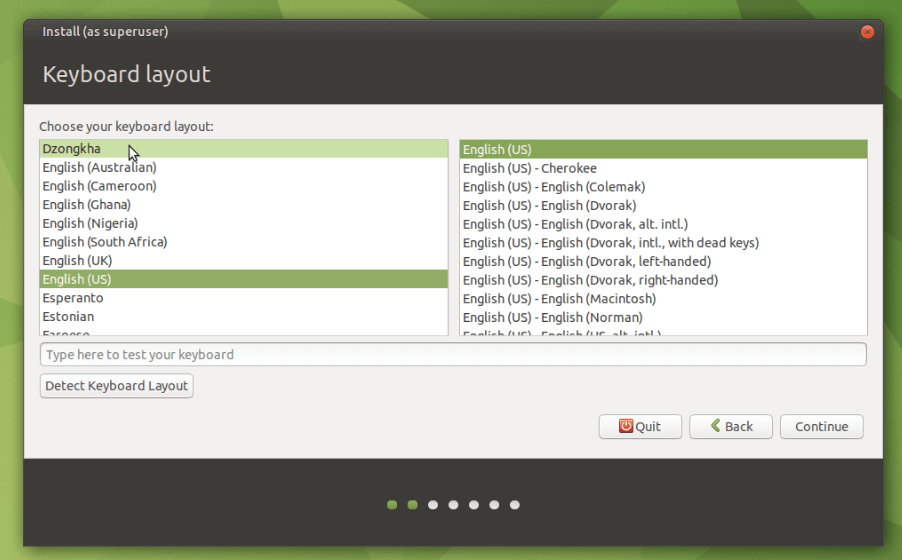
First set your language, then set your keyboard layout.
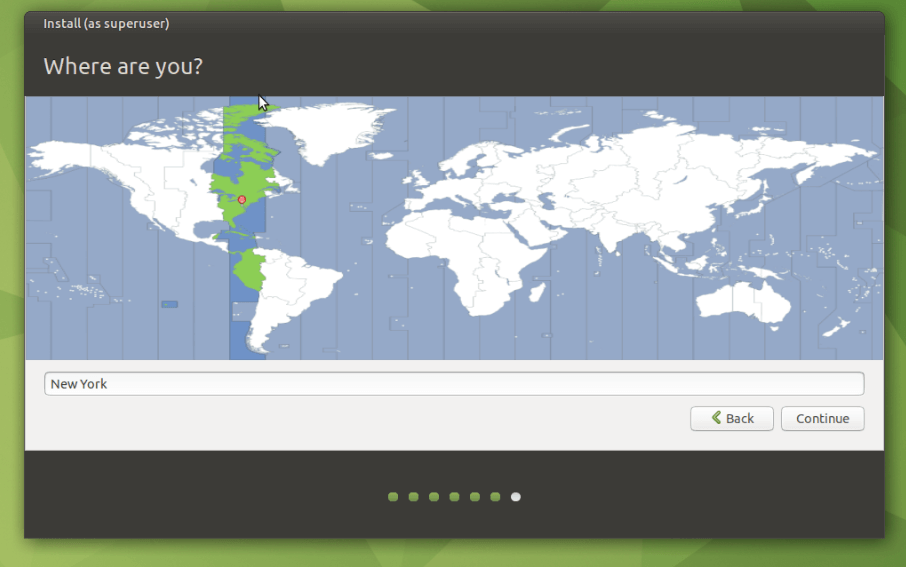
Now pick yourself a time zone. Unlike conventional computers, the Raspberry Pi does not have a battery-powered hardware clock and must sync the date and time from the Internet.
You will be prompted to choose a local Wi-Fi network. Select your Wi-Fi network and enter the password in the network connection screen.
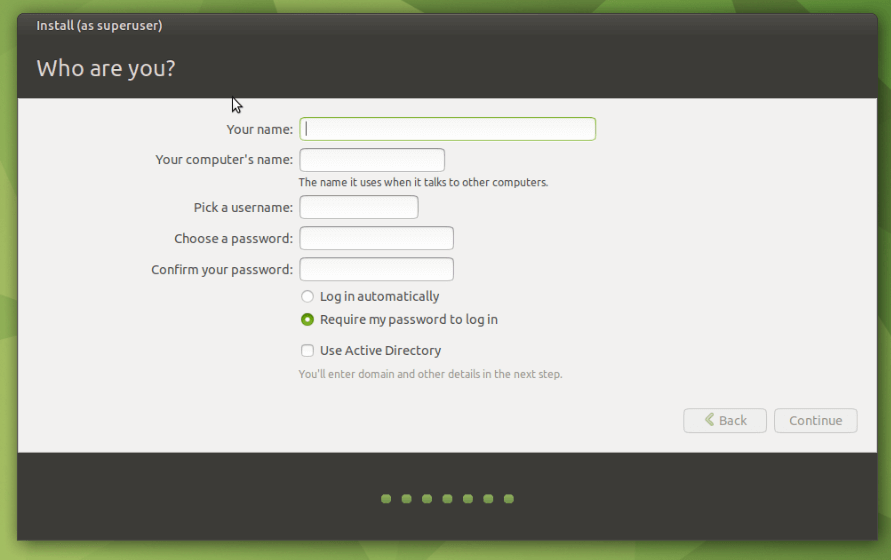
Now choose a user name and password.
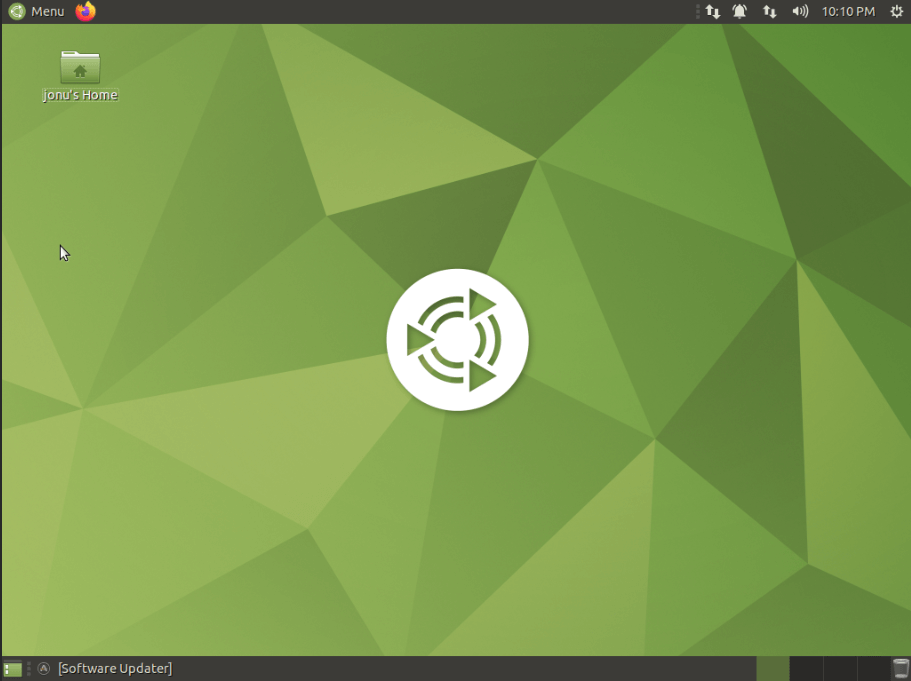
After setting the keyboard layout, timezone and user credentials you’ll be taken to the login screen after a few minutes. And voila! You are almost done.
Welcome to your new Ubuntu MATE Desktop:
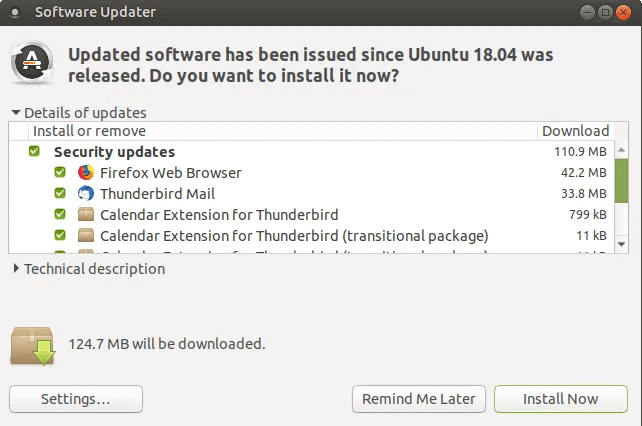
Once logged in, the first thing you should do is to update Ubuntu MATE. This can be done via the Software Updater application:
Alternately, you can update via the Terminal:
sudo apt update
sudo apt full-upgrade
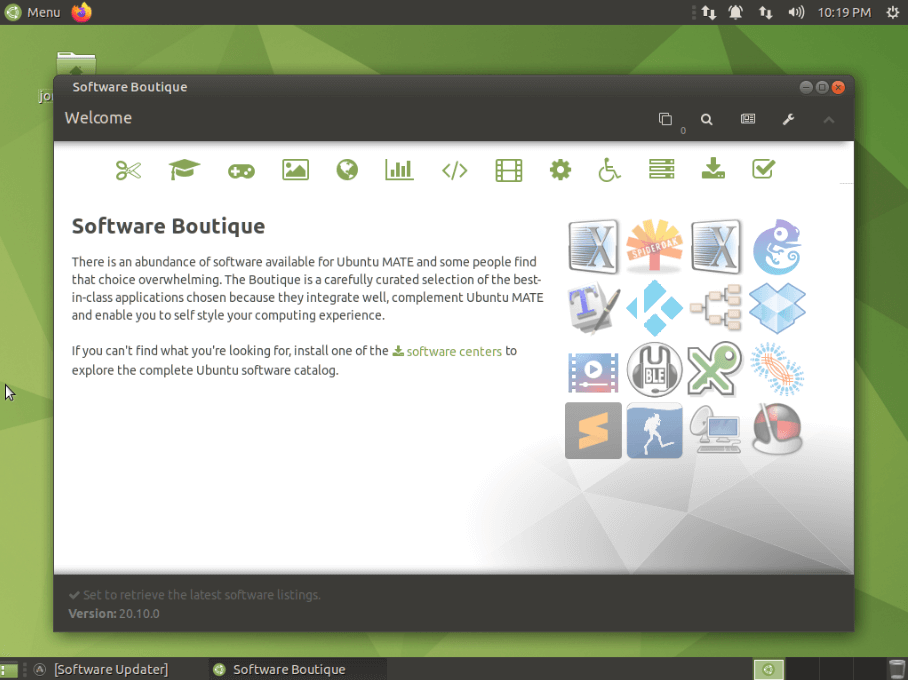
At this point you can enjoy your MATE set up as is, or add software as needed through the Software Boutique:
(Optional) Setting up USB Boot
![]() For Raspberry Pi 4 only.
For Raspberry Pi 4 only.
You can also now boot from a USB attached hard drive or SSD with no microSD card involved. You have to do this after booting from an SD card however because all Raspberry Pi 4 models ship with an EEPROM configuration that boots from SD cards only, but we can change that.
The first check you’ve got an up to date EEPROM version on your Pi 4:
sudo apt install rpi-eeprom
Extract the current bootloader configuration to a text file:
sudo vcgencmd bootloader_config > bootconf.txt
Next we need to set the BOOT_ORDER option to 0xf41 (meaning attempt SD card, then USB mass-storage device, then repeat; see the Raspberry Pi 4 bootloader configuration for more information).
sed -i -e '/^BOOT_ORDER=/ s/=.*$/=0xf41/' bootconf.txt
Alternatively, open bootconf.txt and make the edits yourself if you don’t like sed-hacking.
Now we generate a copy of the EEPROM with the update configuration:
rpi-eeprom-config --out pieeprom-new.bin --config bootconf.txt /lib/firmware/raspberrypi/bootloader/critical/pieeprom-2020-09-03.bin
Set the system to flash the new EEPROM firmware on the next boot
sudo rpi-eeprom-update -d -f ./pieeprom-new.bin
To apply any changes (the EEPROM is only updated during the early stages of boot)
sudo reboot
Now we need to get the image onto a hard drive. That’s the easy part. If you roll this tutorial back to “Prepare the SD Card” and go through it replacing “SD Card” with “Hard Drive” you’ll have it.
You should now be able to boot from your hard drive. Congratulations!
Warning: Some drives may have issues when used to boot the Pi.
In particular, spinning hard disks require a lot more power than SSDs or flash memory. You will very likely need a powered USB hub or external USB drive enclosure.
Insufficient power for 2.5 HDDs may fail to spin up without power, or increase their risk of corruption due to power fluctuations.
Certain USB hubs may cause compatibility issues. For best results, an SSD is recommended.
There’s lots of good information on both the Pi forums and various GitHub issues for debugging boot issues; here’s a selection of links in a rough “look at this first” order from our top Pi guy:
- Pi Forums: Is your Pi not booting?
- Pi Forums: USB MSD boot EEPROM
- Pi Forums: Pi 4 USB3 SSD slow speeds?
- Pi Docs: Pi 4 Bootloader Configuration
- GitHub Issue: Enclosure doesn’t power on after reboot
This page is an adaptation of Ubuntu’s Raspberry Pi tutorial.